Basic Elimination Diet
Are you or your child experiencing eczema, digestive upset, headaches, fatigue, or brain fog that won’t resolve—no matter what you try? These symptoms may be connected to food sensitivities. The Basic Elimination Diet is a gentle yet effective starting point for discovering hidden food triggers, calming inflammation, and resetting your immune system. This approach removes the most common reactive foods, gives your body space to heal, and then guides you through a structured reintroduction phase to help identify what works for your body—and what doesn’t.

Latest IFM Mito Food Plan Recipes
What is the Basic Elimination Diet?
The Basic Elimination Diet is designed to remove the top six most inflammatory foods: gluten, dairy, eggs, soy, corn, and yeast. These foods are often associated with immune activation, gut dysfunction, and chronic symptoms. By removing them, even temporarily, you offer your body a sacred pause—a chance to reset, to quiet inflammation, and to create a clearer connection between what you eat and how you feel. For many, this process becomes a turning point in their health journey—one that uncovers surprising triggers, restores energy, and lays the foundation for long-term healing.
A food sensitivity is a delayed immune reaction to a food—often occurring hours or even days after eating—making it hard to pinpoint. Unlike allergies, which cause immediate symptoms, sensitivities can quietly drive inflammation, gut issues, fatigue, joint pain, and more. By removing common triggers for 4 to 6 weeks, and then mindfully reintroducing them, the Basic Elimination Diet helps you listen to your body and discover which foods support your healing.
A Basic Elimination Diet is Beneficial for Anyone Experiencing:
-
Eczema
-
Psoriasis
-
Hives (urticaria)
-
Headaches
-
Low energy
-
ADD / ADHD
-
Joint pain
-
Fibromyalgia
-
Chronic digestive upset
-
Nutrient deficiencies / malabsorption
-
Brain fog
-
Memory loss
-
Anxiety
-
Depression
This Gentle Protocol is Especially Suited For:
-
Adults new to elimination diets
-
Children with immune-related symptoms
-
Pregnant or breastfeeding individuals seeking a safer starting point
How the Basic Elimination Diet Works:
Phase 1: Elimination (4–6 weeks)
Remove gluten, dairy, eggs, soy, corn, and yeast completely from your meals. Stick to nourishing whole foods and use recipes labeled for the Basic Elimination Diet on Nourishing Meals®.
Phase 2: Reintroduction
After symptoms have improved, reintroduce one food group at a time. Eat that food 2 to 3 times daily for 3 days, then wait another 3 days before testing the next. Watch closely for returning symptoms—digestive upset, skin flares, mood changes, fatigue, or headaches. We recommend starting with yeast and ending with gluten, as it's often the most reactive.
Foods to Eat on a Basic Elimination Diet:
This plan focuses on whole, anti-inflammatory, easily digestible foods that support healing and immune balance:
-
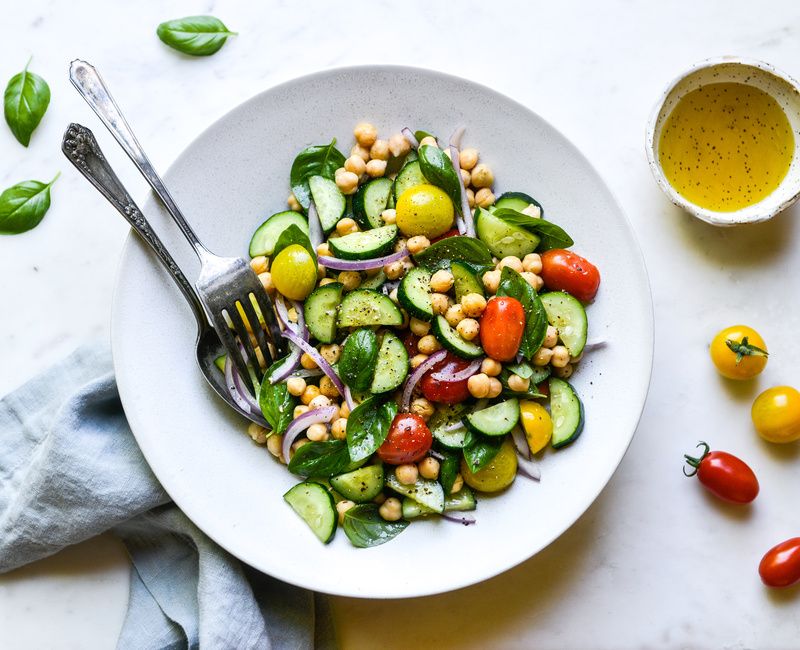
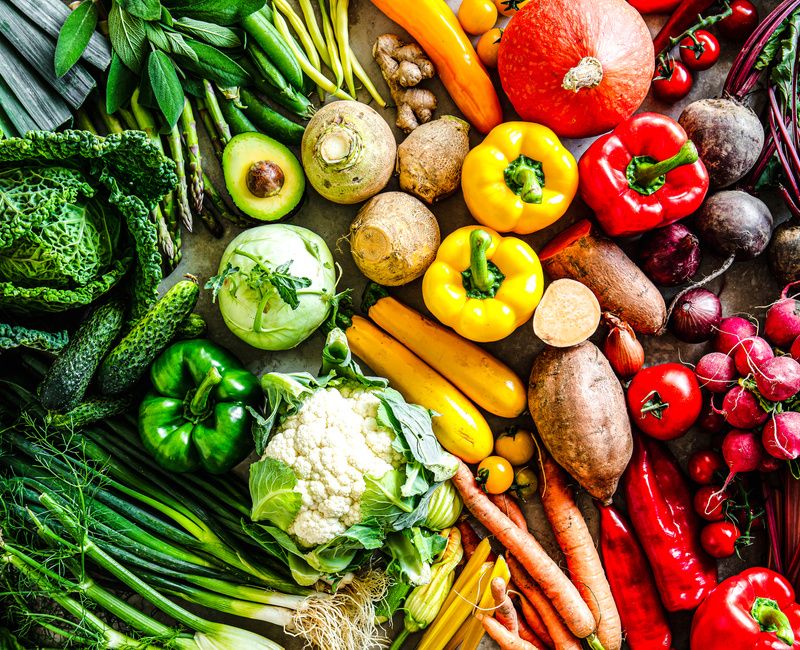
Vegetables: Leafy greens, carrots, beets, squashes, cucumbers, sweet potatoes, broccoli, cabbage, tomatoes, and more (aim for plenty of color and variety)
-
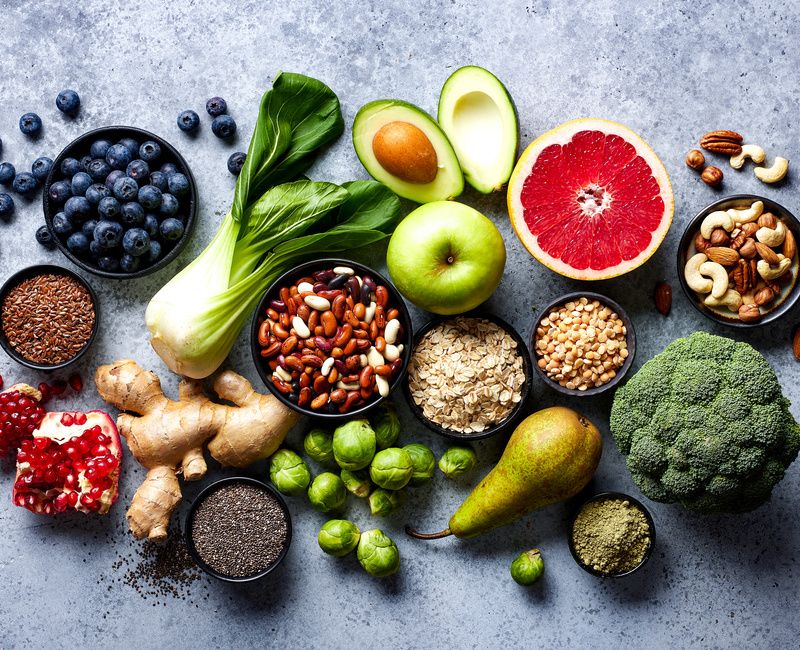
Fruits (in moderation): Berries, apples, pears, kiwi, bananas, mango, pineapple, pomegranate
-
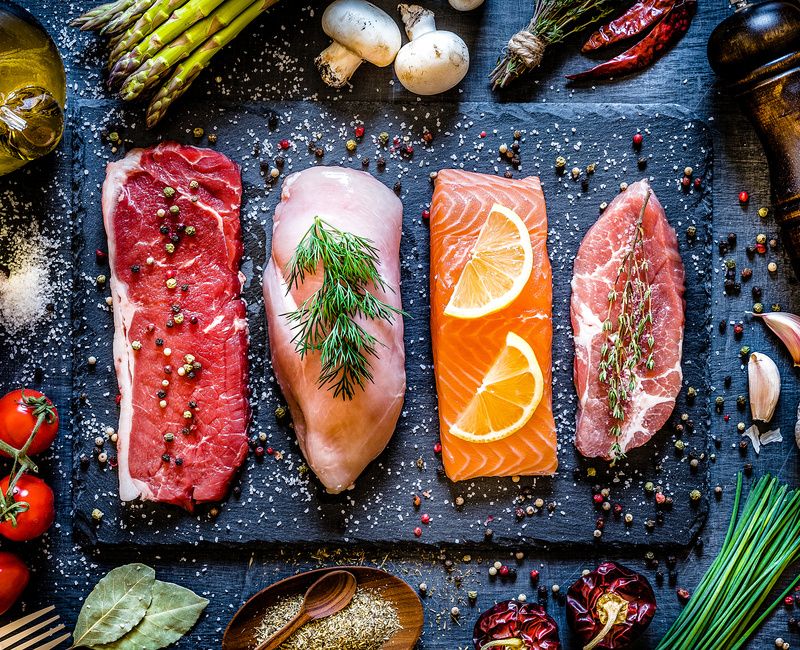
Proteins: Chicken, turkey, beef, lamb, bison, wild-caught fish
-
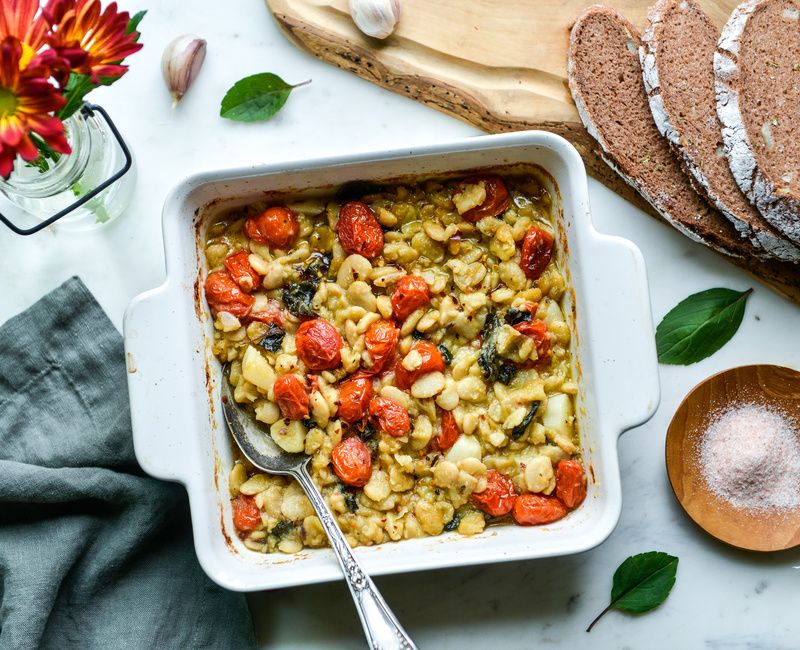
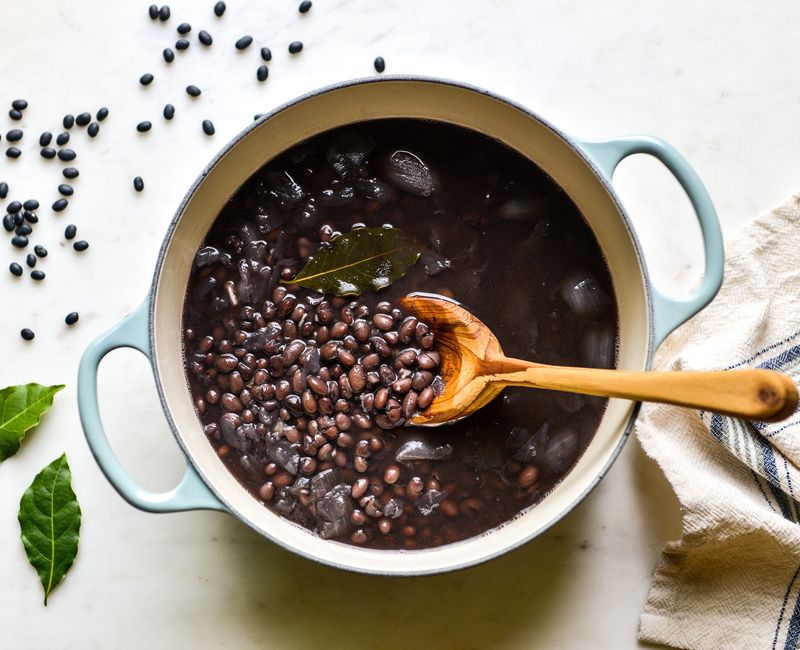
Legumes (if tolerated): Black beans, chickpeas, white beans, lentils
-
Protein Powders: Hemp, rice, marine collagen, or pure amino acid blends
-
Healthy Fats: Avocados, extra virgin olive oil, avocado oil, coconut oil, raw nuts and seeds
-
Gluten-Free Grains: Brown rice, quinoa, millet, teff, certified gluten-free oats
-
Dairy Alternatives: Coconut, almond, or hazelnut milk (unsweetened)
-
Beverages: Filtered water, herbal teas, homemade broths
-
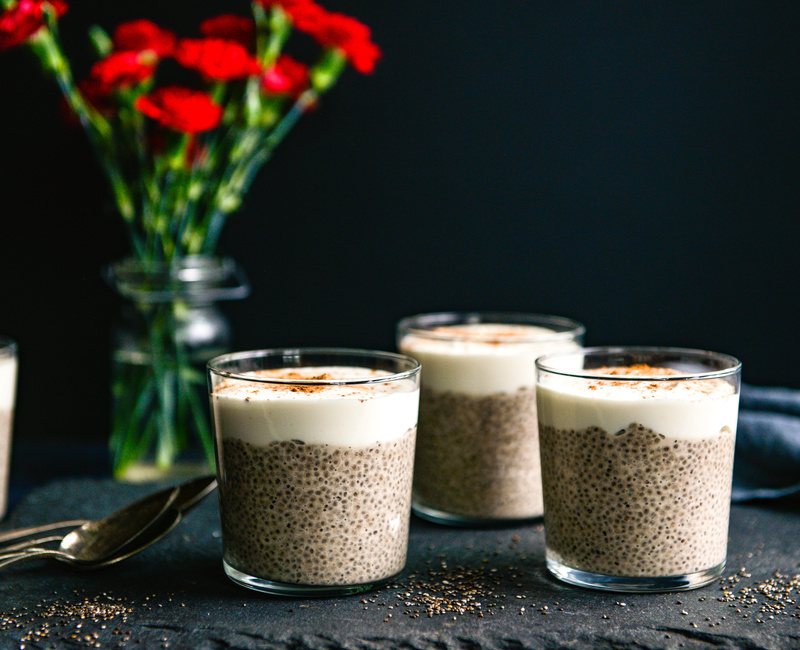
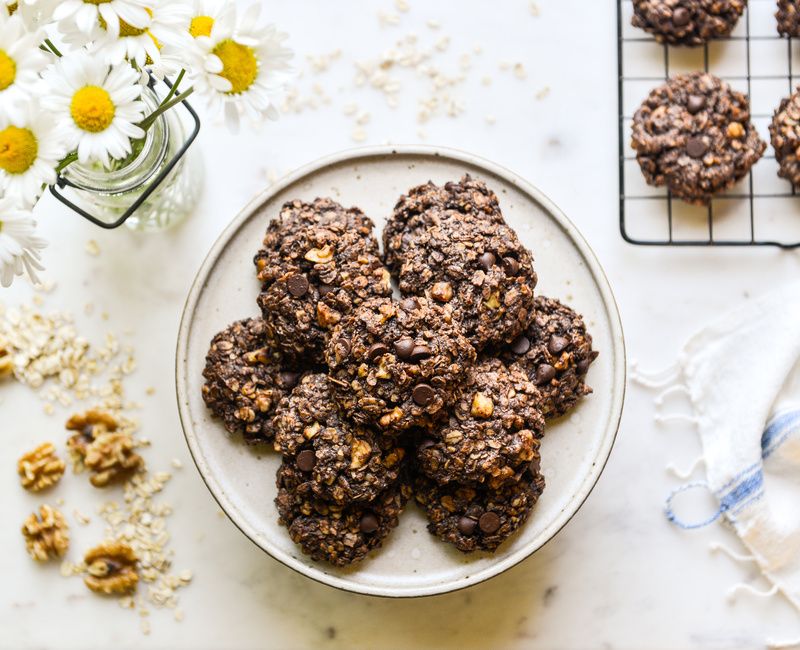
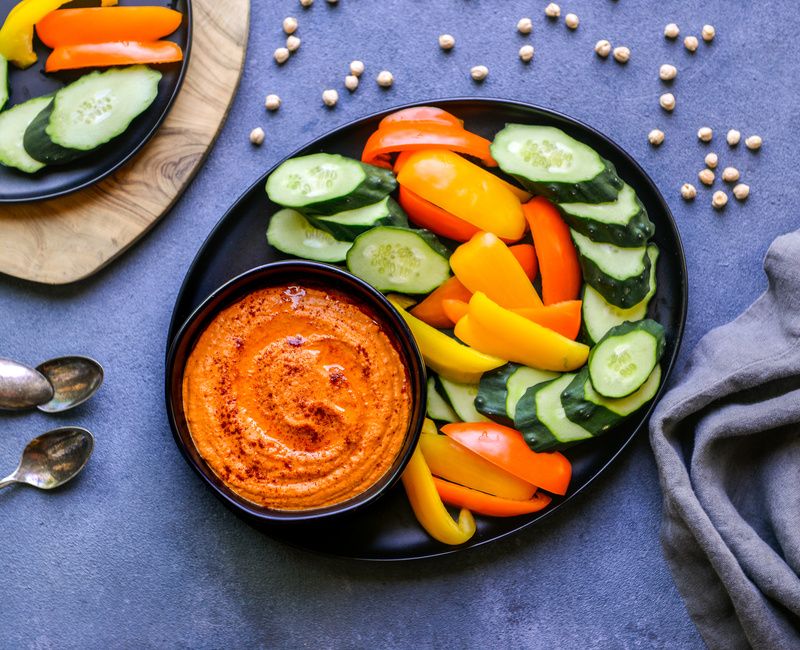
Snacks & Treats: Energy balls, kale chips, seed-based cookies, hummus with veggies, smoothies
Foods to Avoid on the Basic Elimination Diet:
Avoid the six primary food triggers for the full elimination phase:
-
Gluten-Containing Grains: Wheat, rye, barley, spelt, kamut, etc.
-
Dairy: Milk, yogurt, cheese, kefir, butter, ghee
-
Eggs: Chicken and duck eggs
-
Soy: Tofu, miso, soy sauce, soy milk, edamame
-
Corn: Cornmeal, corn starch, popcorn, corn tortillas, corn oil
-
Yeast: Baker’s yeast, brewer’s yeast, nutritional yeast, wine, beer, vinegars
Also avoid:
-
Alcohol: Contains yeast and can damage the gut
-
Refined Sugars & Artificial Sweeteners: Including high-fructose corn syrup, aspartame, and sucralose
-
Packaged, Processed, or Fast Foods: Due to additives and inflammatory ingredients
-
Caffeine (optional): May be helpful to remove to support gut healing and reduce adrenal stress
What if I'm Not Feeling Better After 6 Weeks?
If there is still no improvement of symptoms after 4 to 6 weeks of strictly following this diet, then follow these steps:
- Add in a digestive enzyme supplement with all meals (this is beneficial to do throughout the entire diet).
- Add in a probiotic supplement to help rebalance your gut microbiome in order to help your immune system to be less reactive.
- Move to a Full Elimination Diet where additional potentially problematic foods are removed.
- Consider adding the Low-FODMAP Diet to this elimination diet on the diet tab in your user profile (for IBS symptoms, anxiety, and fibromyalgia).
- Consider experimenting with the removal of additional food groups such as grains, legumes, or nightshade vegetables (these can easily be added on the diet tab in your user profile).
How To Reintroduce Foods:
After 4 to 6 weeks on the Basic Elimination Diet, and after symptoms have calmed down, it is time to begin reintroducing foods. It is best to reintroduce foods from what are often the least problematic foods to the most problematic foods. Therefore, it is best to begin with introducing yeast and end with introducing gluten.
Start by adding in recipes that contain baker's yeast, red wine vinegar, balsamic vinegar, white wine vinegar, or nutritional yeast. You will include these foods 3 times a day for 3 days. If any of your previous symptoms return, then immediately remove all yeast containing foods from your diet and wait until your symptoms calm down before reintroducing another food group. If no symptoms return after 3 days of consuming yeast ingredients, then wait 3 days to see if any delayed food reactions occur and then begin to test corn and soy in the same way. When you are ready to test dairy, use plain 24-hour fermented yogurt and hard cheeses (this excludes lactose as a potential irritant in order to see if dairy proteins are your issue). For gluten, it is best to use rye flour or barley flour made into flatbread or cooked rye or barley grains (this excludes wheat and helps to single out gluten as a potential irritant). If you don't have a reaction to rye or barley, then use wheat flour or spelt flour to make flatbreads or pancakes.
It is important to journal during your elimination diet. Write down the date, what you ate, and how you felt that day, along with a list of any symptoms. This journal will be essential to look back on at the end of your diet to notice any patterns about food consumption, sleep, moods, energy, and symptoms. This way you can more deeply connect the foods you eat to how you feel.
Benefits of the Basic Elimination Diet:
Many people—even within just a few weeks—notice dramatic improvements, such as:
-
Clearer skin and fewer rashes
-
Calmer digestion and regular bowel movements
-
Reduced fatigue and better focus
-
Fewer headaches or migraines
-
More balanced mood and energy
-
Less joint pain or inflammation
-
Fewer sugar cravings
Common Challenges:
-
Initial food withdrawals or cravings
-
Social events or school lunches needing extra planning
-
Needing more time to prep meals and snacks
We’ve found these challenges lessen after the first week or two—especially when you have supportive recipes and snacks on hand!
How to Start the Basic Elimination Diet:
If you’re ready to begin healing, here’s how to get started:
-
Become a Nourishing Meals® Member to access elimination-safe recipes and meal plans.
-
Select “Basic Elimination Diet” in your user profile to filter recipes automatically.
-
Use a pre-made meal plan or create your own based on your family’s preferences.
-
Prep a few snacks and breakfasts on the weekend to stay ahead during the week.
-
Keep a food and symptom journal to track your progress and reintroduction responses.
-
Join our Facebook group for encouragement, community support, and inspiration.
Your Invitation
This isn’t just a diet—it’s a sacred reset. The Basic Elimination Diet offers you a chance to pause, listen deeply, and nourish your body with what truly heals. When you clear what no longer serves you, space opens for clarity, vitality, and transformation.
✨ Try Nourishing Meals® free for 7 days and discover how simple—and deeply healing—it can be to follow a therapeutic diet that supports your whole-body vitality.
| Plan | Length | Actions |
|---|---|---|
Elimination Diet Breakfasts |
6 days | Please login to view and schedule plans |
Basic Elimination Diet Breakfasts |
6 days | Please login to view and schedule plans |
Basic Elimination Diet Dinners |
14 days | Please login to view and schedule plans |
Basic Elimination Diet Snacks |
1 day | Please login to view and schedule plans |
More Phase 2 Dinners |
7 days | Please login to view and schedule plans |
Phase 2 Elimination Diet Dinners Week 2 |
7 days | Please login to view and schedule plans |
Phase 2 Elimination Diet Dinners Week 1 |
7 days | Please login to view and schedule plans |
Elimination Diet Thanksgiving |
0 days | Please login to view and schedule plans |
Easy 3-day Basic Elimination Diet Meal Plan |
3 days | Please login to view and schedule plans |
Basic Elimination Diet Meal Prep Plan |
0 days | Please login to view and schedule plans |
